***Paint Classes***

***Paint Classes***
CLASSES HELD AT YOUR DESIRED VENUE

Friday, January 31, 2014

How to store Arches from a Swap


One of the swaps I participated in last year with our OWSE group was them monthly Arch Swap.
As you can see they were all fabulous!  The uniqueness of each person's arch was wonderful!
I wanted to save them.  At first, I thought I'd make a mini album.  They are embellished so much-the album would be way to thick or I'd have to make more than one.
Keep scrolling and you'll see what I came up with.


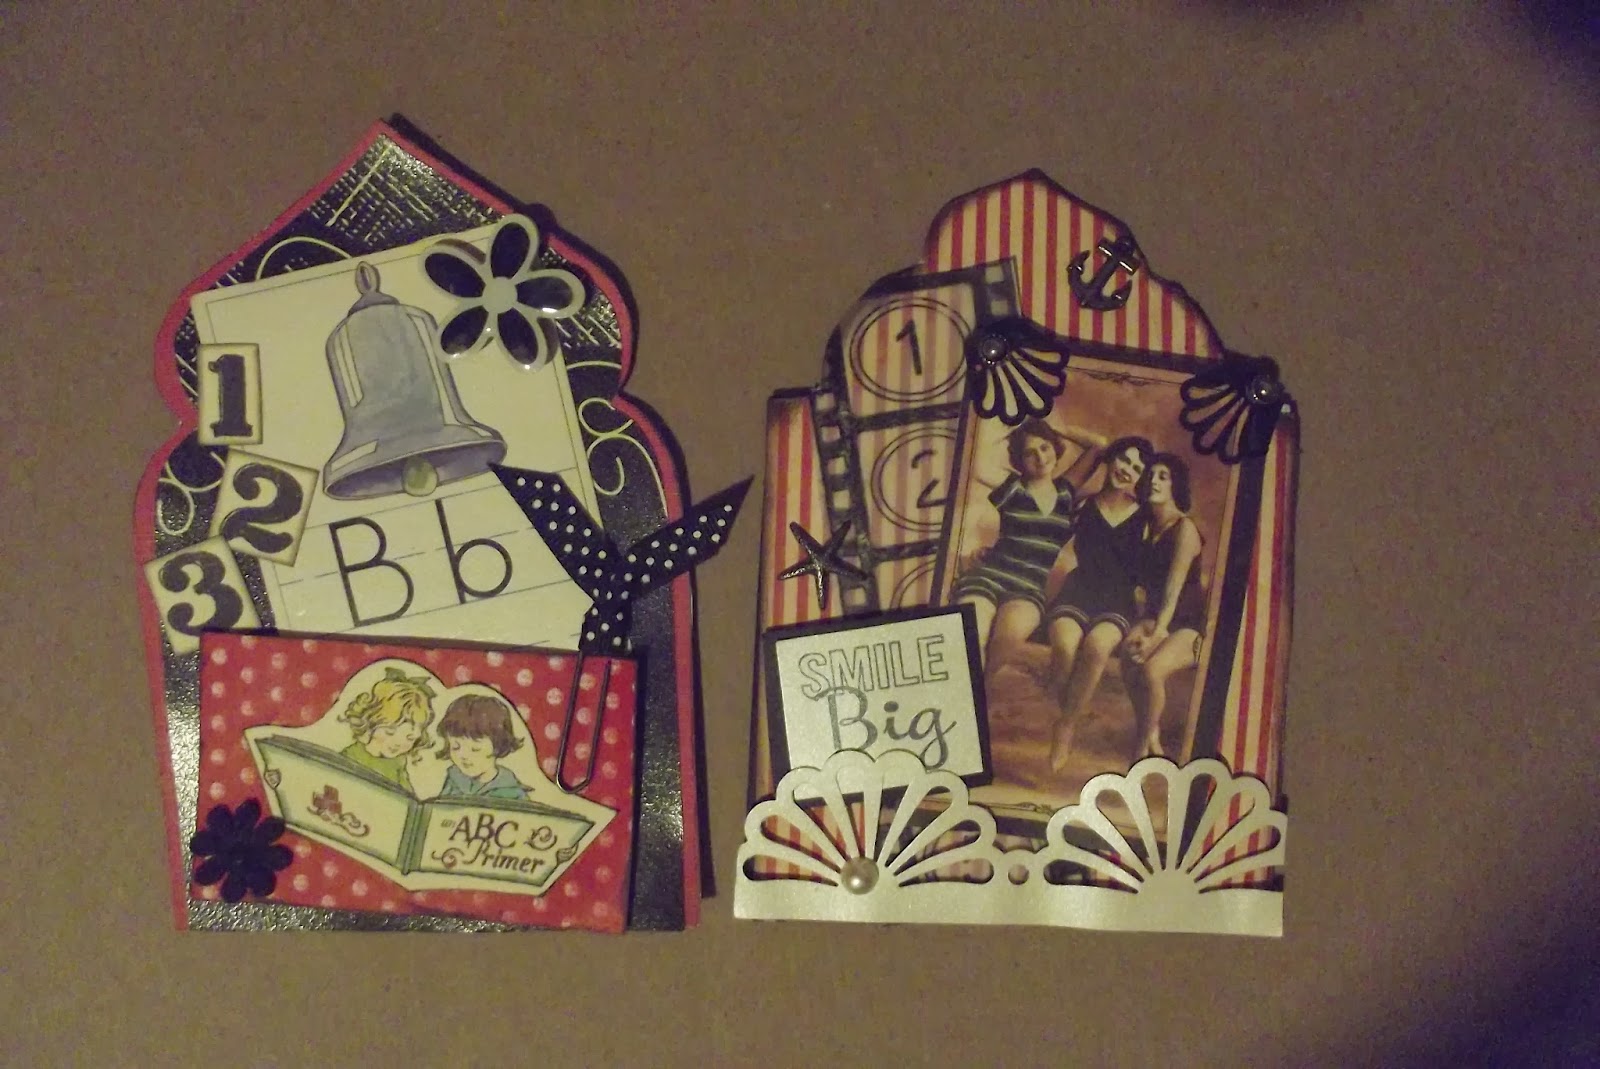

 I cut a cereal box in half and altered it!  I gently opened it till it was flat, painted the lime green color (acrylic paint).  Had some left over die cuts on my work area, some left over flowers.  I glued the die cut letters on with matte medium.  Outlined them using a paint brush and dark brown gelato.
 Turned out really cute!  It holds all my arches in one place. 
Thank you girls for the great swap in 2013!  I look forward to our swaps this year.
We getting ready to have a Secret Valentine swap!!  I have a special project ready to go!

Jump over to Robyn's store and get any of your crafting/art supplies for 20-25% less than retail.
HERE--------Outlaw Women Scrapbook Emporium
Have a terrific Friday!!

Sunday, January 26, 2014

Dimensional Valentine's hanger

Check out my new valentine!
 
I saw a you tube video by JustaFew and knew I had to try it.
As usual-I didn't have what she used-but used my cricut to cut my 4 1/2 inch hearts.
 
Entering Really Reasonable Challenge #87 Valentine's Day/Love/Ribbon
The lovely vintage lady was printed from The Graphic Fairy.  You can get FREE images of all types. I fussy cut her and went around the edges (using my valuable tool-my finger!) with Rose Fresco paint. 
 Look at that dimension!!! LOVE IT!

Friday, January 24, 2014

Prima Doll Dream Mixed Media Tag

My OWSE Secret Santa sent me a Prima Tag pad.  I love having the tags ready to be decorated. 

I started off by stamping the letters onto the tag with versa mark and embossed with white embossing powder.    colored over it with a red gelato.  I cleaned the letters off with a cue tip.


Then I stamped a large doily stamp with versa mark and embossed with light blue embossing powder.
I then rubbed some distress inks over the tag with Tim Holtz tool.  I used mustard yellow, vintage photo and old paper.


I stamped my Prima coll onto white cardstock and again on a couple of scrap pieces.  I cut the designer scrap pieces out and paper pieced her clothes.  I love doing that!
Added some snow writer for the lacy frill on the bottom of her skirt, some liquid pearls to her sweater and head band and some glossy accents to her shoes.
Tied on some seam binding and I was done!


 She turned out fabulous!!!
 
 You can get these supplies at Robyn's store Outlaw Women Scrapbook Emporium.
The prices are ALWAYS 20-25% less than retail!!

Check it out today.

Thanks for stopping by & I pray you have a blessed Friday!!
 

Wednesday, January 22, 2014

Paper Artsy Guest Designer!!

I have some great news to share!!
I am going live as a guest designer for Paper Artsy today!
 
If you haven't heard of them-you've got to check them out.
 
 
They have lots of talented designers that show mixed media techniques several times a week.  They also sell some top of the line paints and stamp sets and other mixed media products.
 
My project today features two of their Fresco paints. 
Spanish Mulberry and Rose.
The names they have for the paints are even cool!
 
Here's a sneak peek at part of the process I did on my altered box.
To see the rest-you've got to go to their website!
 
I really hope you'll be inspired to try it yourself. It feel amazing to take something and change it into a beautiful finished product!


Tuesday, January 21, 2014

Technique share from Paper Artsy

New technique by Ellen Vargo this week at Paper Artsy
I had to get inky with her!
 
 I started with a brayer and antique white acrylic paint.
 Then I brayered by 2 fresco paints-Spanish Mulberry & Rose
 I also used a purple acrylic paint.
 Once dry-I added texture with a stencil and liquitex modeling paste.
 One of the chipboard pages I brayered some antique white over top of the colors.
 

 I cut them apart to make post cards for a swap I'm participating in.  Did some inking with Black Stazon using a Stampin Up stamp.

Here's the back of the post card. I stamped using Stampin Up Post Card stamp. I distressed it with mustard yellow, old paper, vintage photo and walnut stain.

I LOVE THEM!!!!  Thank you Ellen for the inspiration!!


Monday, January 20, 2014

Mixed Media Valentine Pocket with card

Our Sweethearts are special and close to our hearts. I wanted to do something extra special for mine.
 
Instead of a plain envelope for a special valentine's card-I made a pocket.
 
Decorated it with lace and trim from my stash. I edged the flowers with snow writer to give that soft luscious -vintage look.  I love it!
 I made a pocket on the front to slide a gift card in!!  He'll love that!

Here's my card that's tucked inside.  Cute huh?  Love the little key.

I'm entering challenges:

Really Reasonable Ribbon #87

Simon Says Emboss it I embossed the key with words stamp with black embossing powder

The Artistic Stamper Love is in the Air -I stamped the Happy Valentine's Day on the back of the pocket as well as stamped the picture on the card.


Friday, January 17, 2014

A Perfect Day with Unity

Friends With Flair
 
I haven't got to use the new stamps much from Unity. One of the kits of the month has some beautiful ones in it.  I didn't want to take away from the stamp itself.
I stamped it directly onto SU designer paper.  Colored it in with Tim Holtz distress pens.  They have a water color look to them. Soft and lovely.

You can join in at Unity Stamp Company. 


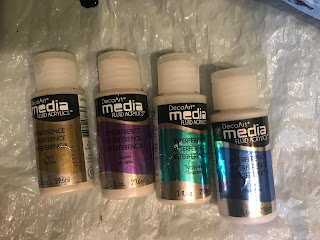
Fluid Art with DecoArt Interference Paint

I've been experimenting with fluid art.   Trying to get cells to create is hard! I've tried multiple mediums, multiple products.  Th...