We're still celebrating Christmas! It's been fun -not sure I'm going to stop at the end of the month! LOL.
Today I'm bringing you a mini album with a different binding technique. It's made with paper bags. I've used the cheap brown lunch bags. Since my style is usually vintage-brown is always a nice backdrop.
Here's the binding tutorial http://www.youtube.com/watch?v=DPscV6GA9wA
 There
is tons of room in these paper bag minis. I have only one tag on the
inside of each pocket, but you could easily fit 2 more or slide things
you want to keep up with inside.
There
is tons of room in these paper bag minis. I have only one tag on the
inside of each pocket, but you could easily fit 2 more or slide things
you want to keep up with inside.
 There
are tag pull outs inside each bag. I used three bags. Cut the ends
off and ended up with a 5x5 area to put the designer paper in. When you
glue a corner on a page-only attach the outside edges with glue -that
way you can slide a picture under the edge to hold it in place.
There
are tag pull outs inside each bag. I used three bags. Cut the ends
off and ended up with a 5x5 area to put the designer paper in. When you
glue a corner on a page-only attach the outside edges with glue -that
way you can slide a picture under the edge to hold it in place.
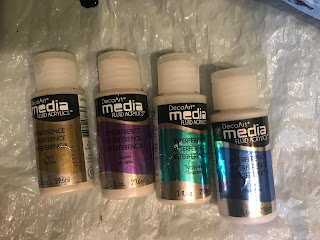
 Here are the supplies I used from our Outlaw Women Scrapbook Emporium
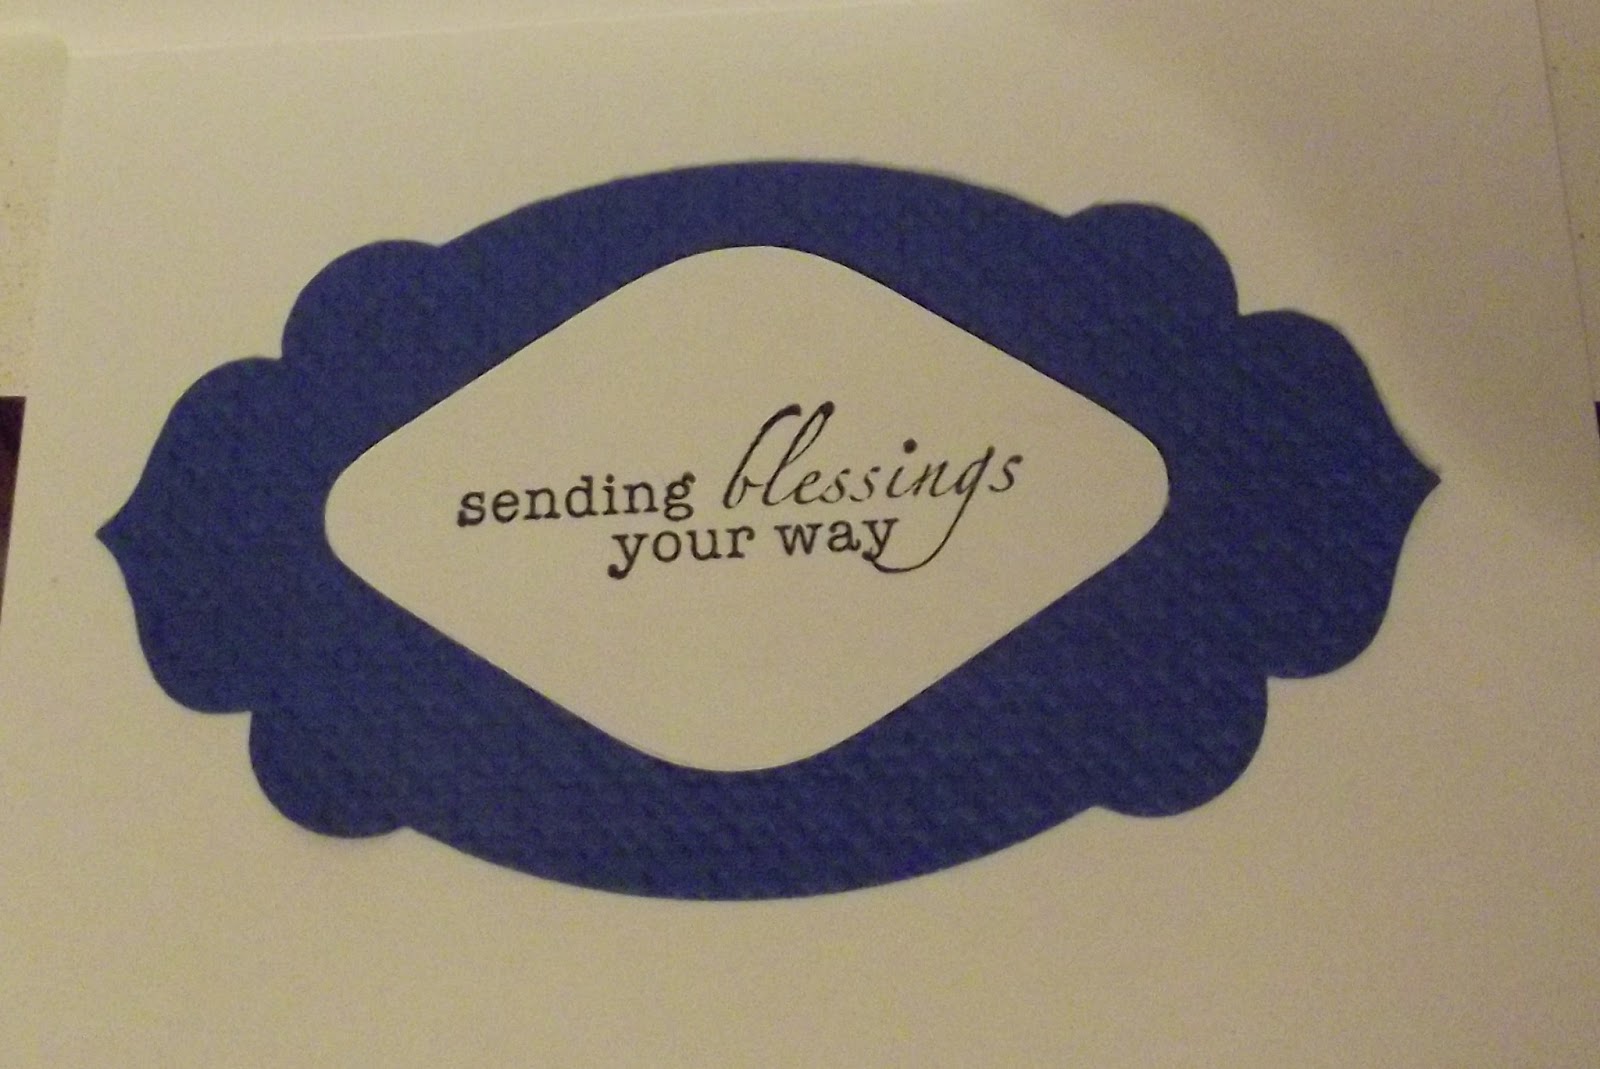
Tim Holtz Christmas Stamps: holly limb, pine cone & sentiment
MME Christmas 6x6 pad paper
cardstock
adhesive
ribbon
Ranger Vintage photo distress ink
Paper cutter
I hope you like the mini. It will stand as well as lay out nicely on a coffee table. I love displaying my pictures in such an interesting way. Please let me know if you have any questions.
Thanks for stopping by!
Karen C

Today I'm bringing you a mini album with a different binding technique. It's made with paper bags. I've used the cheap brown lunch bags. Since my style is usually vintage-brown is always a nice backdrop.
Here's the binding tutorial http://www.youtube.com/watch?v=DPscV6GA9wA


Tim Holtz Christmas Stamps: holly limb, pine cone & sentiment
MME Christmas 6x6 pad paper
cardstock
adhesive
ribbon
Ranger Vintage photo distress ink
Paper cutter
I hope you like the mini. It will stand as well as lay out nicely on a coffee table. I love displaying my pictures in such an interesting way. Please let me know if you have any questions.
Thanks for stopping by!
Karen C