***Paint Classes***

***Paint Classes***
CLASSES HELD AT YOUR DESIRED VENUE

Tuesday, December 30, 2014

Merry Altered Christmas Jean

Surprise for Altered Pages owner: Jean Moore
 
Everyone on our Design Team created a 5x5 page for a mini album for her!!
It's been a secret for 6 weeks or more! 
 
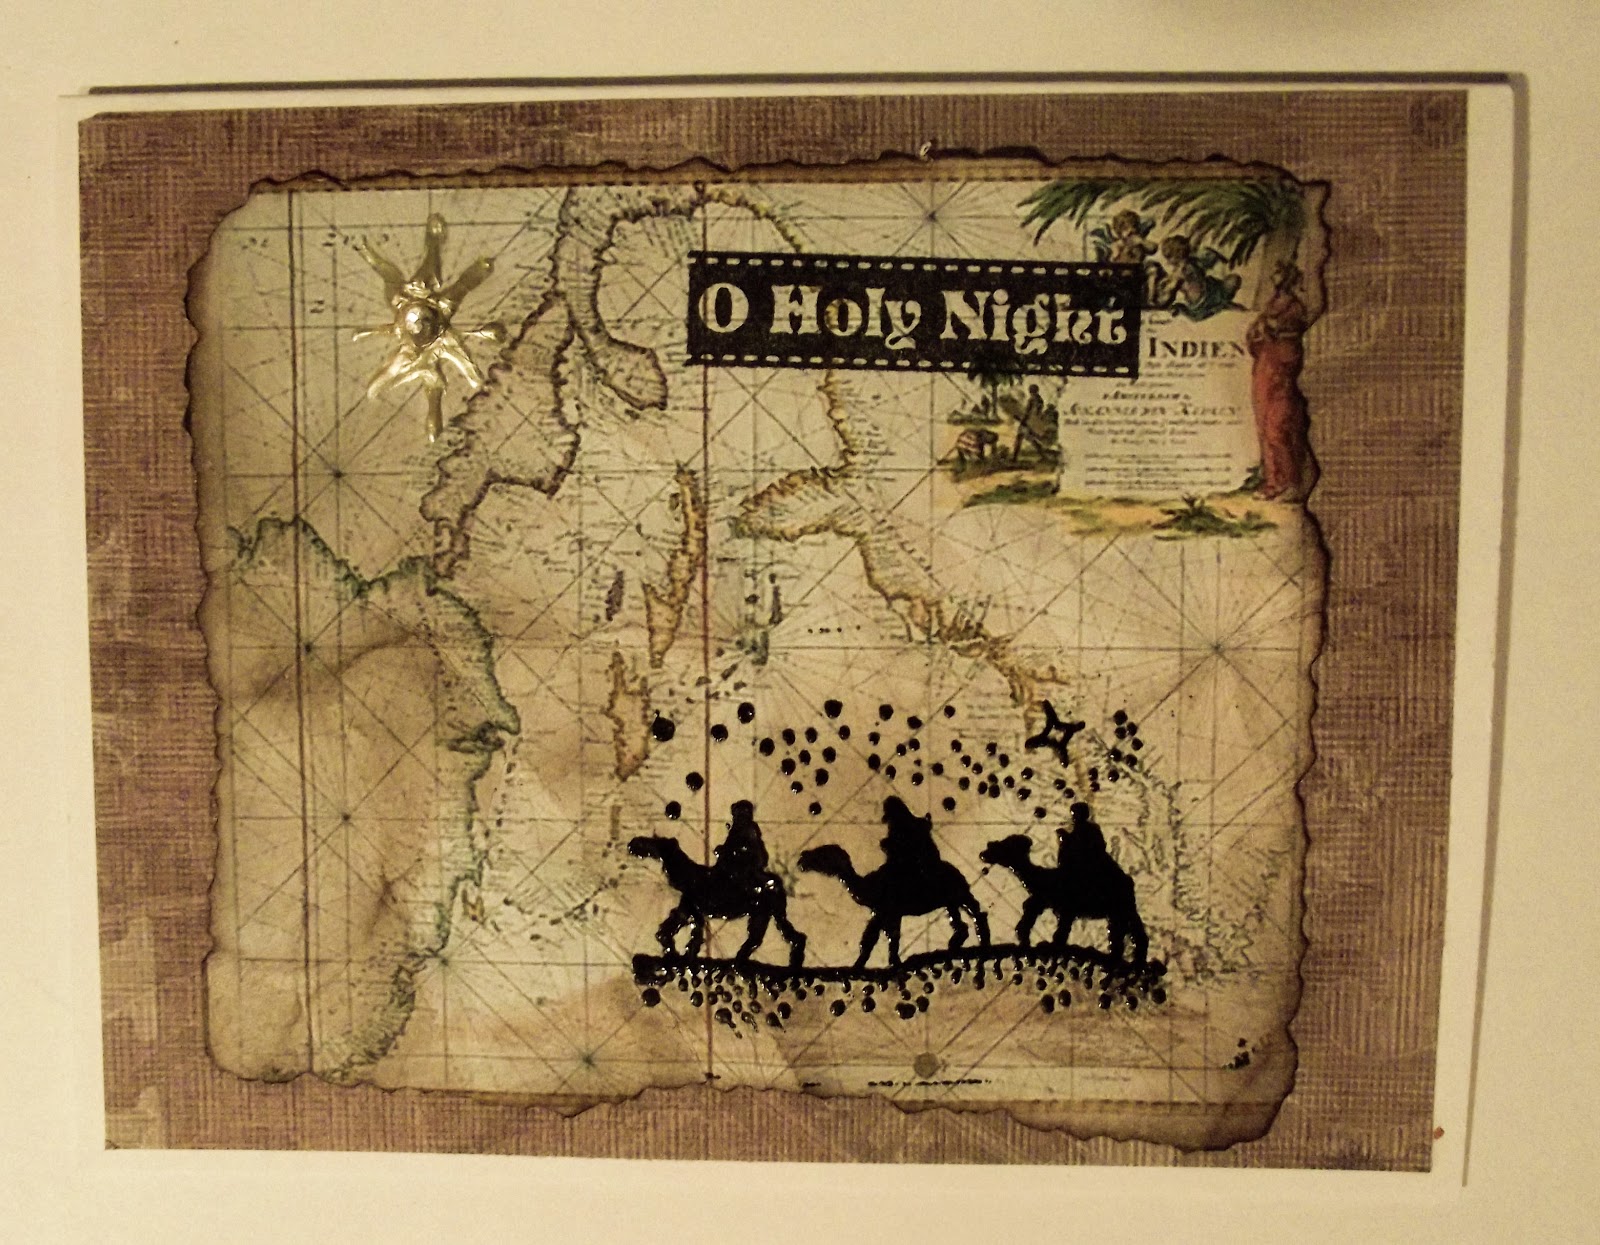
In order to keep the book somewhat cohesive, the theme was intended to represent what Jean's goal is: to empower women to create.  The colors to be used: jewel tones.
 
Here's my take:

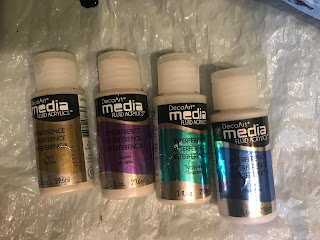
I made my background paper using a stencil and some spray inks.  The lady is a collage from Altered Pages-I added some yellow texture paint to the background. I created the flowers using a die. 

We're all waiting to see the finished product-today is the BIG REVEAL day!!

To see the finished book go to: Altered Pages

Merry Christmas Jean! You are the best!

Thanks for stopping by!

Karen

Sunday, December 28, 2014

Daughters are Mom's Best Friend

I have had the pleasure in making several of these canvas's for friends.
 
It's a reminder that our daughters end up being our best friends!
 I painted the dresses in colors to match the individual. I loved each one!

Monday, December 22, 2014

Mixed Media/Lindy's Stamp Gang


I am so inspired by everything Gabrielle Pollacco makes! This week was no different. I am follower of her blog and get emails when she posts! No-I'm not a stalker, but I don't want to miss out on anything she creates!!

Click on her name and you'll go to her website and a tutorial of her technique she did on a box.

Here's my finished plague. I used a wooden plaque one inch thick and 6.5x7.5.


After doing all the gesso work, the sprays I used was:

Lindy's Stamp Gang: My Mojito Green, Landlubber Green, Moonlit Mulberry, and Passion Plum.

The highlighting I did using:

DecoArt Metallic Lustre in Gold Rush and Iced Espresso.  I adore that stuff!!

Shop for DecoArt products HERE

Entering:

The Artistic Stamper Challenge

Saturday, December 20, 2014

Mixed Media: Stamping with Deco Art

Love mixed media but don't know how to start?
Grab a canvas or piece of MDF.
 
I glued down ripped pieces of a Paris themed calendar using gel medium. Once dry, cover in a watered down coat of off white acrylic paint. Dry. (when drying you can let air dry or use heat tool)
 I rubbed Phthalo Green-Blue around the edge with my finger. (Yes-I like getting messy!) Rub a little Carbon Black over top of that.  Then I mixed some Dazzling Metallics glaze in with Raw Umber and covered the whole thing-rub some back off with a soft t-shirt (recycled). Gives a great antique feel with a slight shimmer.
 I did some stenciling, some stamping (use black stazon) and did an image transfer.
 More stamping using Deco Art Media Simmer Mister (Violet) mixed with Acrylic Red Violet.
 Had made some flowers by stamping on Glossy Photo paper and using a watercolor technique with Deco Art Media Shimmer Misters.  Fussy cut them and added to canvas with dimensionals.

Stamped my girl (Unity Stamps) and colored her with Tradition Acrylic paints.

Entering challenges:
Mixed Media Place: dimension
Word Art Wednesday challenge #163
PaperArtsy December Challenge (inspired by Leandra Franich)

Shop HERE for Deco Art Products


Stamps used:
Unity: She Sprouted Wings
Key to Today
Andie Girl
PaperArtsy: Eclectica by Lin Brown
Have a blessed day!
Karen Conner

Wednesday, December 17, 2014

Deco Art Metallic Wax-AMAZING STUFF

I picked up this frame at an Estate sell. It had been in the basement a long time. I left it out to air-but the basement smell would not go away!  My husband suggested spray painting it to seal it.
I said WHAT!  This is a beautiful wood frame-I don't want to ruin it!
I let it air some more.  The smell wasn't going away.
 
So we sprayed it gloss white. I had decided to make put something contemporary looking in it.
 
Then I remembered.....Deco Art Metallic Wax and Antiquing Cream.
I put a coat of carbon black antiquing cream on first.
let it dry.
Take a damp cloth and wipe to reveal the beautiful design of the frame.
Take a dry cloth and rub the Gold Metallic Wax to highlight the raised edges.
 Here's a close up of the amazing finished frame!!!!  Isn't it beautiful?


Look for Deco Art products.  I give the Antiquing Cream and Metallic Wax a big thumbs up!!


Tuesday, December 16, 2014

Outdoor layout /Blue Fern Studio Challenge

Every month I love Blue Fern's sketch. I also love their products!
 
This month I had the opportunity to participate!
 
I've used their flower/leaf stems on the left side of the picture.  I coated them in gesso, then rubbed Deco Art Metallic Wax lightly on top.  Love the effect.
 
I'm doing the layout on a piece of Masonite. I plan of framing the picture for a friend's Christmas present. I printed the scripture and did the transfer method with gel medium above the picture.
 
Love the rugged look that distressing and ripping gets. I sprayed some blue spritz on the background paper after I had did a watered down coat of gesso over it. There are bits of burlap here and there. A few Wild Orchid Flowers.
 

I'm entering Blue Fern Studio's December sketch challenge.  HERE


Monday, December 15, 2014

Shepherds looking for the Savior!

Happy Monday!
I'm using a collage sheet of maps today from Altered Pages.
We've partnered with Just For Fun Rubber Stamps for the month of December.
 
See the cute Wise men riding the camels?  That's JFF!!

 
Here's a video showing how I created this cute and quick card.

We have some amazing designers -be sure and check them out every day for inspiration!


Tuesday, December 9, 2014

Merry Christmas @ Party Time Tuesday

Are you almost ready for Christmas?? You don't have many days left!
 
Today is a new weekly challenge at Party Time Tuesday.
 
I've made another Christmas card to send. I used a digital page from Heather Hudson. She is sponsoring our challenge this week.  So you may win your own digital image!
I chose the Santa one because it had a vintage feel. 
Finished-it's a 5x5 card. I had to do very little to enhance this gorgeous card front. I added some vintage trim at the bottom and some yellow rhinestones to the tree for ornaments. A little metal flower is the tree topper.  The words came with the collage sheet. I added glossy accents to them after cutting them out. 
VIOLA'
A beautiful card. Quick and easy.

                                           My Artistic Adventures by Heather Hudson

Be sure to check out our other designers today.  Come back every Tuesday for a new challenge at Party Time Tuesday!


Monday, December 8, 2014

RRR #108 Tags! Tags! Tags!

Christmas Tags are SO FUN to create! Tags of any kind-but especially Christmas ones.
 
I used an dry embossing folder-rub your inkpad on the low side before you run your white cardstock through. The background is what you get! I love this simple technique.
 
The blue poinsettia's were cut with Tim Holtz Die. I used plain blue cardstock & then stamped them with a script rubber stamp.
I put a little glitter glue around the edges and then dunked them into SU Dazzling Diamonds glitter.
Viola! Poinsettia MAGIC!
 
I didn't punch a hole in the tag-I'm adding it to a gift and really didn't need to. I tied my ribbon bow and added some string pearls.
I think it turned out elegant! A little vintage feel with the mottled blue ink.
 

I'm entering Really Reasonable Challenge.  They have some AWESOME designers-several are my friends. Check them out for some inspiration and win prizes!!  This month is a beautiful package of blue ribbons!!  Hope I win! I love them!


Assembly line Christmas Cards with digital images

 
Put together Christmas cards quickly.
I started with my digital images from Altered Pages. After printing and trimming them, I made mats to fit and card bases. Stacked them up-ready to produce!!
I got our the Christmas embellishments I might want to use.
 Have two favorite background stamps to jazz the plain cardstock up.  Then I got started!
 Below are just two examples of the beautiful cards that came out of my day of card making. There's no way I could post them all!
 These two images came from the collage sheet "Blue Christmas" I just love the vintage feel of them.

Entering Simon Says Christmas/Holiday Challenge.

I hope this will help you during this busy time to be able to get some cards done without stressing too bad!!  People secretly love receiving a handmade card.  I love having the time this year to do them.

Take the time to share Christ in the simple things you do for people this Christmas season.
God was thinking of us when he sent his one and only child to be born in this sinful world and then be crucified for OUR SINS. If you've never accepted Christ as your Savior-do it today!!  Celebrate his birth in true Child of God fashion this year!

Love in Christ,


Monday, December 1, 2014

Christmas Card Tutorial: Watercolor technique with Distress inks

Happy December!
This month Altered Pages is partnering with Just For Fun Rubber Stamps.


I created a Christmas Card with the adorable Santa Sleigh from JFF.
It fit PERFECTLY over my moon.
 
My adorable greeting tag was from a collage sheet from Altered Pages. (see below)
Right now the collages sheet are only $1!  So it would be a great time for you to get one.
 Here's the inside of the card.  I used very little water since it's regular cardstock. But I do enjoy bringing the card theme into the inside. The little Santa Sleigh looks great there too!!
Here's the entire collage sheet I used from Altered Pages:
#1113D Vintage Christmas

Here's a tutorial on how I did the card:

I hope you'll join Altered Pages challenges.  Go HERE to join in the fun!  We have amazing projects everyday from our design team.  Be sure to become a follower!


Fluid Art with DecoArt Interference Paint

I've been experimenting with fluid art.   Trying to get cells to create is hard! I've tried multiple mediums, multiple products.  Th...